Molecular recipes

Holiday Spirit | Chocolate dessert with a surprise inside

Holiday Spirit | Chocolate dessert with a surprise inside

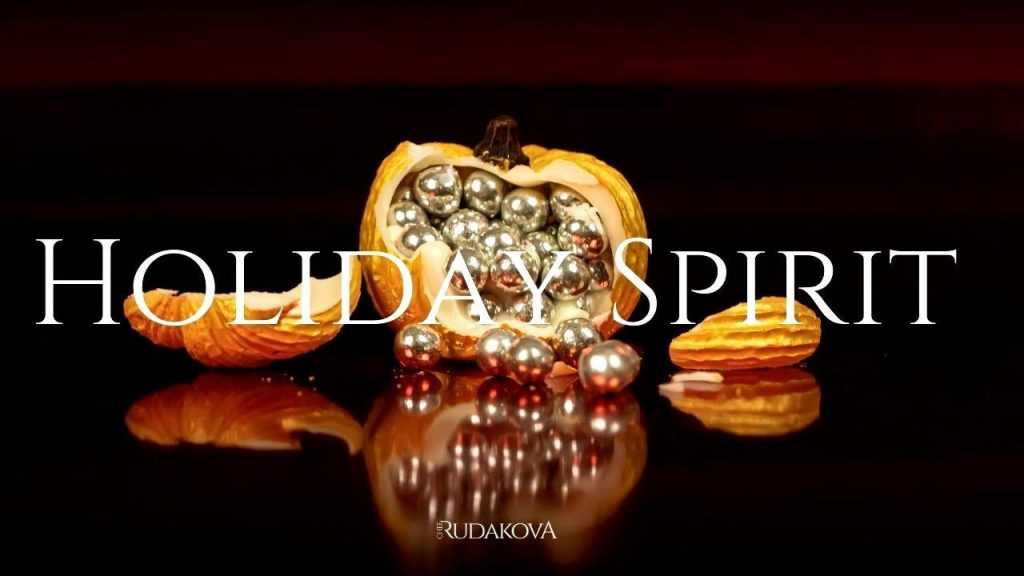
Holiday Spirit | Chocolate dessert with a surprise inside I don’t know how about you, but I’m already fully into the Holiday Spirit! Halloween passed, Thanksgiving is just out of the door, and Christmas is in the air! Being under influence of this strong Holiday Spirit presence, I’ve decided to cook something that falls right in between the feeling of all those holidays. And as a bonus, also practice my chocolate skills. Today we’ll be making a holiday chocolate dessert with a surprise inside. More than that, we’ll make 3 different variations of this dessert: using classical bonbon making technique, molecular cuisine direct spherification, edible gold spraying, and more. So, get out your pumpkin spice lattes & warm socks, and enjoy this new recipe✌???? You can watch the full video of me making this Holiday Spirit Chocolate dessert here Part 1 – Pumpkin stem & shell 250g Dark chocolate 250g White chocolate 1/4 tsp edible blue colourant Ingredients, you’ll need Directions Melt a little bit of the dark chocolate and temper using seeding method. Use a pipette or a syringe to pipe out small amounts of dark chocolate into the pumpkin stem cavity inside the molds. Put the molds in the fridge to set the stems. Meanwhile, melt more dark chocolate, temper with seeding method. Take a separate bowl, add blue colourant and 1 tbsp of melted chocolate, mix. Add more chocolate and mix again. Repeat the process until all the chocolate is mixed and darker in colour. In a separate bowl melt & temper the white chocolate. Take out the molds. Use piping bags to fill up 1 mold with dark chocolate and 2 molds with while chocolate. All the way to the top. Turn the molds with chocolate upside-down and let most of the chocolate to get out. Don’t worry, some chocolate will remain inside, covering the inner sides. Put the molds back to the fridge to set the chocolate. Part 2 – Pink gooey filling 100g White chocolate 70g Milk 1/4 tsp edible pink colourant Ingredients Directions Melt the white chocolate on a double boiler. Warm up the milk. Mix milk with pink colourant. Mix pink milk with melted chocolate. Use a piping back to pipe the gooey pink chocolate inside one of the molds with white chocolate shell. Don’t pipe all the way to the top. Leave about 0.5 cm off the top. Put this mold to the freezer and let it completely freeze. Take it out of the freeze, pipe in more melted and tempered while chocolate to seal the top. Let it set in the fridge. Unmold. Part 3 – Vegan caviar | Cranberry pumpkin spice pearls 200g Cranberries 1tsp Cinnamon powder 1tsp Allspice powder 1 tsp Nutmeg powder Agar Agar powder 1L Veg. oil (ice cold) Ingredients Directions Juice the cranberries and strain through a cheesecloth. Mix the cranberry juice with pumpkin spice mix. Measure the liquid amount and mix with 1% Agar Agar. Use a pipette to pipe small amounts of cranberry Agar mix into the ice-cold oil. Oil will help to encapsulate the vegan caviar drops and cool them down immediately.  Drain the caviar and transfer to the pumpkin mold with dark chocolate shell. Pour over a little more dark chocolate to seal the pumpkin at the bottom. Let set in the fridge and unmold. Part 4 – Holiday Spirit chocolate pumpkins assembly Fill up the last mold with silver chocolate balls (you can buy them from the food store; look in the confectionary/baking section), and seal with white chocolate as others. Onmold carefully all the molds. Spray one of the white pumpkins with edible gold. Use a sponge to decorate a dark chocolate pumpkin with powdered gold. Let the white chocolate pumkin with gooey pink madness inside defrost in the fridge for 1 hours. Enjoy your Holiday Spirit Chocolate dessert with surprise inside!

Holiday Spirit | Chocolate dessert with a surprise inside Read More »
Edible Scallop Stones | EASY fine dining recipe

Edible Scallop Stones | EASY fine dining recipe

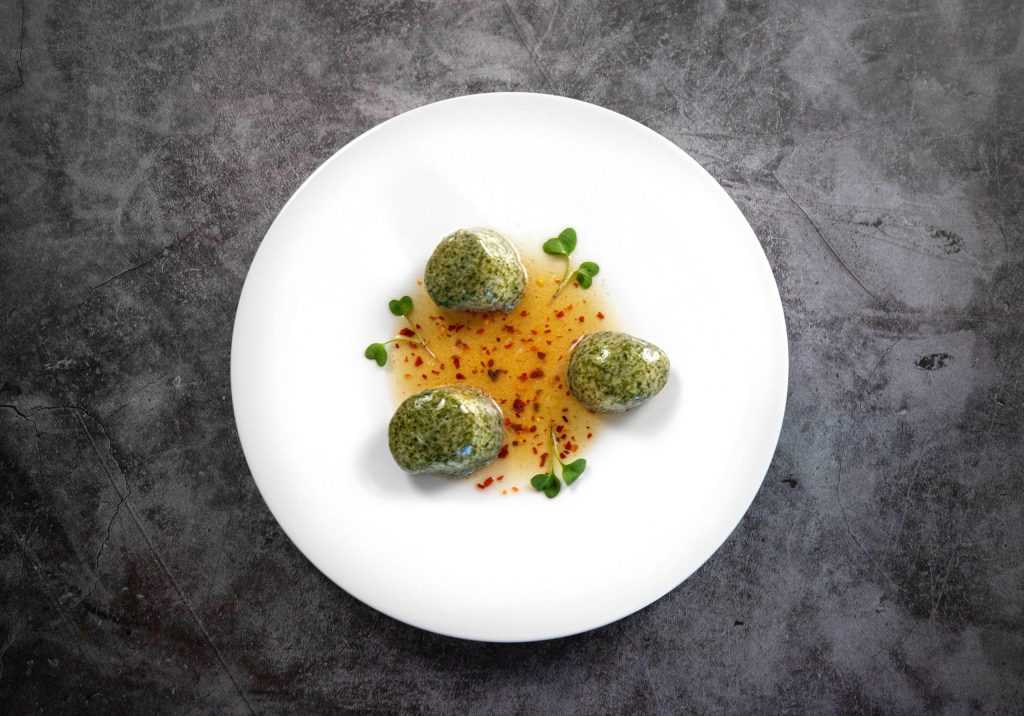
Edible Scallop Stones | EASY fine dining recipe You’ve probably already heard of Edible Rocks, a.k.a. River Stones from Mugaritz. You might even had already seen a video recipe of such on our channel. https://youtu.be/AMJKP88_wBo But, there’s simply never enough versions and no limits when it comes to nature interpretation. Fine dining Chefs had always been and will always be inspired by nature. So, here’s another version of edible rocks.  In today’s post you’ll find the full cooking method for Edible Scallop Stones a la Ceviche style. Very easy to make, and no extra fancy ingredients or equipment are required for this fine dining dish. Inspired by Ronny Emborg and the limitless possibilities of magic coating gels.  Enjoy! Part 1 of 3 – Scallops 3 large scallops 4 limes (juice only) 1/4 tsp Chili flakes … FULL RECIPE INCLUDED WITH CULINARY ACADEMY Ingredients, you’ll need Directions Remove the adductor muscle off the scallops. Mix all the ingredients (except for the scallops) together. Pour the acidic mixture…. …..   Full Recipe is Part of the CULINARY ACADEMY Join TODAY and have access to all Classes + Recipes. Once enrolled, you’ll get a LIFETIME ACCESS to the academy, incl. all the new upcoming cooking lectures and modules and this recipe. https://youtu.be/a7XW5XodRE0 join now

Edible Scallop Stones | EASY fine dining recipe Read More »

5 Hour EDIBLE WATER Bubble (carbonated)

5 Hour EDIBLE WATER Bubble (carbonated)

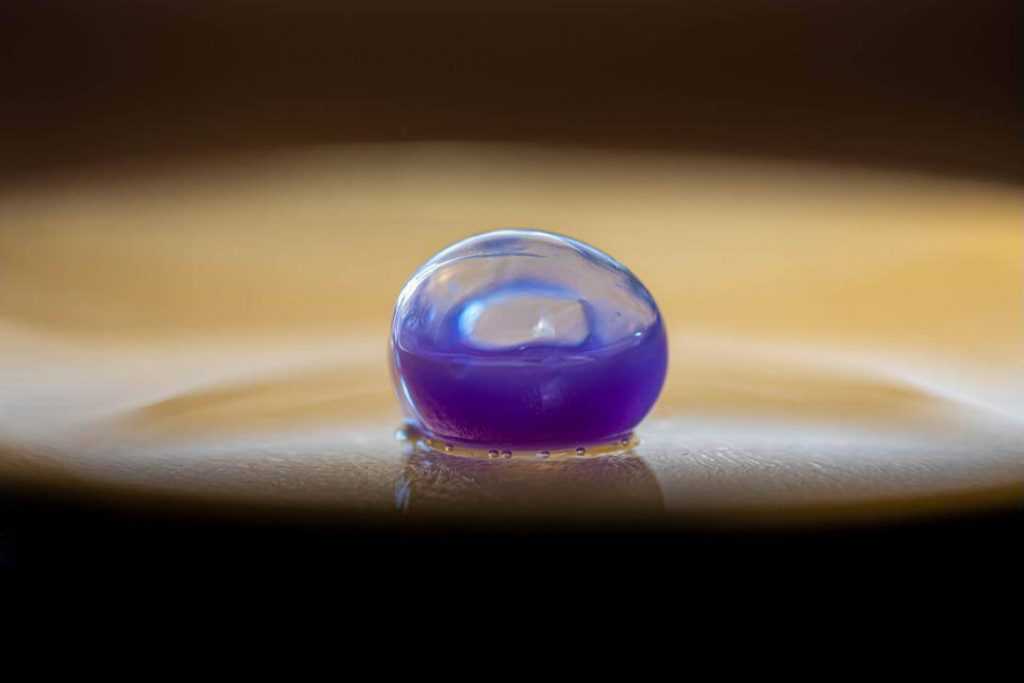
5 Hour EDIBLE WATER Bubble (carbonated) Is the creation of edible spheres all that reverse spherification is about????? Let me show you how you can take this molecular gastronomy culinary technique on a different LEVEL! In this post I’ll share with you not only the process of how to make an edible water bubble, but also how to carbonate it, and create a carbonated sphere filled with magic tea!???? A little gassy, bloated, yet beautiful edible water sphere. You can watch the full video of me making Carbonated EDIBLE WATER bubble HERE https://youtu.be/B8rl0KAd-qg Part 1 – Edible Magic Tea spheres 200g Magic Tea 6g Calcium Lactate 1g Xanthan Gum 1L Water 5g Sodium Alginate Ingredients, you’ll need Directions Steep some Magic Tea, cool down. Blend the tea with Calcium Lactate and Xanthan Gum. Pour the edible water mix in a squeeze bottle and let it rest for a while (until the bubble disappear). Meanwhile, prepare the reverse spherification baths. Blend water with Sodium Alginate, pour in the 1st bath. Fill up 2 other baths with clear water. Pour a teaspoon of edible Magic Tea mix in the 1st bath. The sphere will form.  Transfer this edible sphere into the 2nd and later 3rd bath. Follow the video demo. Part 2 – Carbonation 2 CO2 (soda) chargers Ingredients Directions Transfer the edible tea bubbles into a culinary siphon. Add in a little water. Close the siphon and charge with 2 soda / CO2 chargers. Let the siphon carbonate for 3-5 hours* Release the pressure inside the culinary siphon. Open and let the bloated, gassy carbonated edible water spheres out. Enjoy! *you can leave it for longer, but they might get over-bloated.

5 Hour EDIBLE WATER Bubble (carbonated) Read More »

Michelin Star Fish and Chips

Michelin Star⭐️ Fish and Chips | BURST OF FLAVOR in one bite [Molecular Gastronomy recipe]

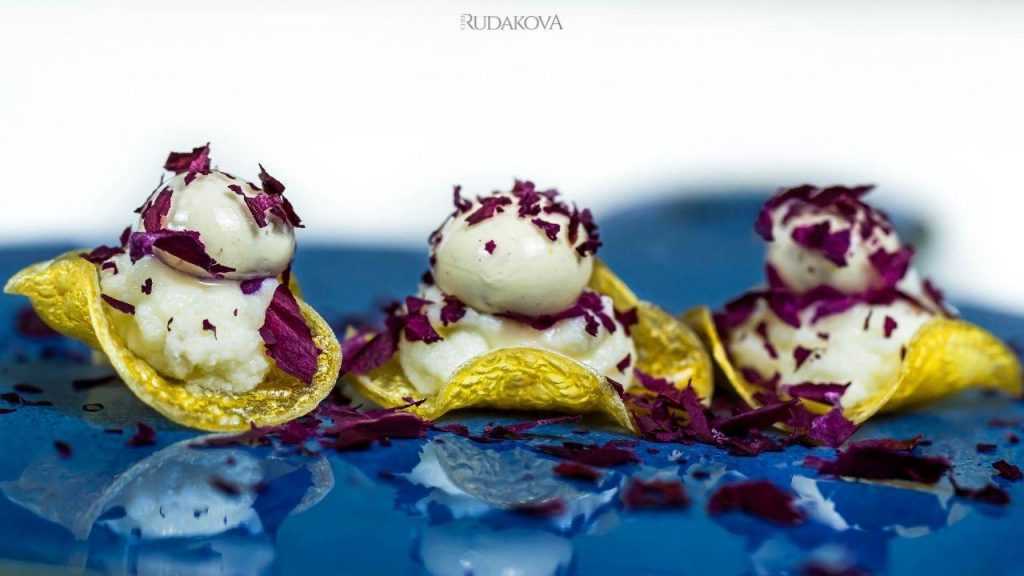
Michelin Star⭐️ Fish and Chips | BURST OF FLAVOR in one bite [Molecular Gastronomy recipe] This single bite Michelin Star⭐️ worth Fish and Chips Amuse Bouche is a true representation of Deliciousness???? and how fine dining and molecular gastronomy cooking techniques can deliver results so similar in flavor and satisfaction to original classical dishes. In this case, we are applying several fine dining techniques and modernizing the famous Fish n Chips???????? We’ll make crystal potato chips, fish puree and #spherified Tartare Pearls, using the reverse spherification method. The result is a real burst of flavor!???? You know EXACTLY what you are eating – you are eating Fish & Chips in one bite. While looking at beautiful edible jewelry ???????? Part 1 of 4 – Crystal potato chips 2 Large starchy potatoes Ingredients, you’ll need Directions Juice the potatoes, using the fruit juicer machine. Preheat the oven to 200C / 392F. Pour the potato juice onto a FLAT (important) baking tray. …. FULL RECIPE INCLUDED WITH CULINARY ACADEMY Get access to recipe

Michelin Star⭐️ Fish and Chips | BURST OF FLAVOR in one bite [Molecular Gastronomy recipe] Read More »

Magic TRAFFIC LIGHT peas [Molecular Gastronomy]

Magic TRAFFIC LIGHT peas [Molecular Gastronomy]

Magic TRAFFIC LIGHT peas [Molecular Gastronomy] Peas are in season, and summer is already in full bloom! So, why not create a colourful, FUN amuse-bouche for your guests, using this amazing fresh ingredient and modern culinary techniques? Let’s make Magic Traffic Light peas, using molecular gastronomy techniques.  In this post, I’ll show you how to use: seasonal ingredients (summer Peas, Strawberries & Loquat), modern molecular cuisine techniques (spherification method), and classic traditional methods (lactose fermentation) in order to create a fun, surprising, single-bite summer appetizer from the Chef for your guests. You can watch the full video of me making Magic TRAFFIC LIGHT peas here https://youtu.be/NolGxImJWlk Part 1 – Strawberry peas Strawberries Salt Smoked paprika Agar Agar Ingredients, you’ll need Directions Clean & wash strawberries. Measure the weight of strawberries and mix with 2% salt. Vacuum & seal salty strawberries for 1-2 days at room temperature to lacto-ferment. Cut open the bag with lacto-fermented strawberries. Blend strawberries with a little paprika & 1% (of the weight) of Agar Agar. Bring the strawberry mixture to boil, while continuously whisking to fully hydrate & activate Agar Agar. Pour the strawberry peas base into a squeeze bottle.  Pour a drop of strawberry peas base into a spoon and them drop this pea mix into an ice-cold oil. This will give a rapid cooling effect to the mixture and the Agar Agar will help to spherify the peas immediately, while they still keep the circular shape.  *Store in water in the fridge, until needed. Part 2 – Loquat peas Loquat fruit Salt Agar Agar Turmeric powder Ingredients Directions Clean, wash & peel Loquat fruit. Measure the weight of Loquat and mix with 2% salt. Vacuum & seal salty Loquat for 1-2 days at room temperature to lacto-ferment. Cut open the bag with lacto-fermented Loquat. Blend Loquat with a little Turmeric powder & 1% (of the weight) of Agar Agar. Bring the Loquat mixture to boil, while continuously whisking to fully hydrate & activate Agar Agar. Pour the Loquat peas base into a squeeze bottle.  Pour a drop of Loquat peas base into a spoon and them drop this pea mix into an ice-cold oil. This will give a rapid cooling effect to the mixture and the Agar Agar will help to spherify the peas immediately, while they still keep the circular shape.  *Store in water in the fridge, until needed. Part 3 – Green summer peas Peas Salt Sugar Vinegar Ingredients Directions Trim fresh peas. Remove the pea seeds from the pods.  Prepare the pickle mixture by combining 250g Water with 250g Vinegar, 1 tbsp Sugar and 1tbsp Salt. Bring to boil, so all the ingredients are completely dissolved; cool back to room temperature.  Pour the cold-pickle mix over the pea pods, and refrigerate for 1-2 days.  Part 4 – Magic TRAFFIC LIGHT peas assembly Plate the spherified colourful fruit peas along with real fresh peas in pickled pea pods.  Add a little chili oil (optional).   Tools, you might need for this recipe **Images below are linked to third party websites, such as Amazon. Should you chose to purchase any of those items there, Chef Rudakova will receive a small commission (at no extra cost to you). Microplane Zester Stand Mixer Food Digital Thermomether You might also like this Recommended Blog Posts Previous Next

Magic TRAFFIC LIGHT peas [Molecular Gastronomy] Read More »